Decks can truly transform your outdoor space, turning your backyard into a cozy retreat or a space for entertaining friends and family. But over time, weather conditions, foot traffic, and daily wear and tear can damage your deck, making it look tired and worn out. The good news? You don’t have to replace it – a little TLC through deck painting and staining can restore its beauty and longevity.
Whether you’re a DIY enthusiast or thinking about hiring a pro, understanding the best practices for deck restoration is essential. So, let’s dive into some top tips for deck painting and staining.
Why Deck Painting and Staining Matter
Before we get into the how-to, let’s talk about why painting or staining a deck is so important. A deck is constantly exposed to the elements, from the blistering summer sun to rain, snow, and even the occasional storm. Over time, this exposure can lead to fading and poor shape.
While both deck painting and staining offer protection, they do so in slightly different ways. Staining enhances the natural beauty of the wood, allowing the grain to show through, while painting provides a more solid, vibrant color and can protect against a broader range of outdoor elements. Both techniques help protect your deck from moisture, UV rays, and mildew – and they can significantly extend the life of your deck.
Step-by-Step Deck Painting and Staining Process
Let’s take a journey through the process of deck painting and staining while grabbing tips from experts at K&K Painting Corp.
1. Preparation Is Key
The first and most important step to a successful deck restoration project is proper preparation. You can’t just slap some paint or stain on an old, dirty deck and expect great results. If your deck has been neglected for a while, it’s crucial to give it a thorough cleaning first.
Clean Your Deck Thoroughly:
First, remove any dirt and leaves that may have gathered. Once that’s done, give your deck a good wash with a deck cleaner. You can buy a deck-specific cleaner, or make your own by mixing water with mild soap and a little vinegar. Use a pressure washer if necessary, but keep the pressure low to avoid damaging the wood. Let the deck dry completely before proceeding – this is critical, as painting or staining a damp deck will cause issues with adhesion.
Repair Any Damage:
Before you start deck painting and staining, inspect it for any damage. Are there any loose nails, splinters, or cracks in the wood? Fix these issues by tightening any loose screws, hammering in nails, and sanding down rough areas. If you find any significant damage, you might need to replace those boards altogether. No amount of paint or stain can fix structural damage.
2. Choose the Right Paint or Stain
Selecting the right paint or stain for your deck painting and staining project depends on the look you want to achieve and how much protection you need. Consider the following factors:
Wood Type:
Certain types of wood (like cedar or redwood) naturally resist rot, while others may require extra protection. Check what type of wood your deck is made of and choose a product that’s compatible with it.
Stain vs. Paint:
Stain is typically better for decks that have nice wood grain and texture. It soaks into the wood and enhances its natural beauty, while also providing waterproofing. Paint, on the other hand, creates a solid layer on top of the wood and is more suited for covering up imperfections, such as uneven wood grains or discoloration.
Color:
When it comes to color, remember that darker shades absorb more heat, which can cause your deck to wear faster. Lighter colors reflect sunlight and tend to last longer.
Finish:
Stains come in various finishes – from clear to semi-transparent to solid. If you want a more natural look, opt for a transparent or semi-transparent stain. A solid stain, like paint, will provide full coverage, concealing the wood grain while offering a smoother finish.
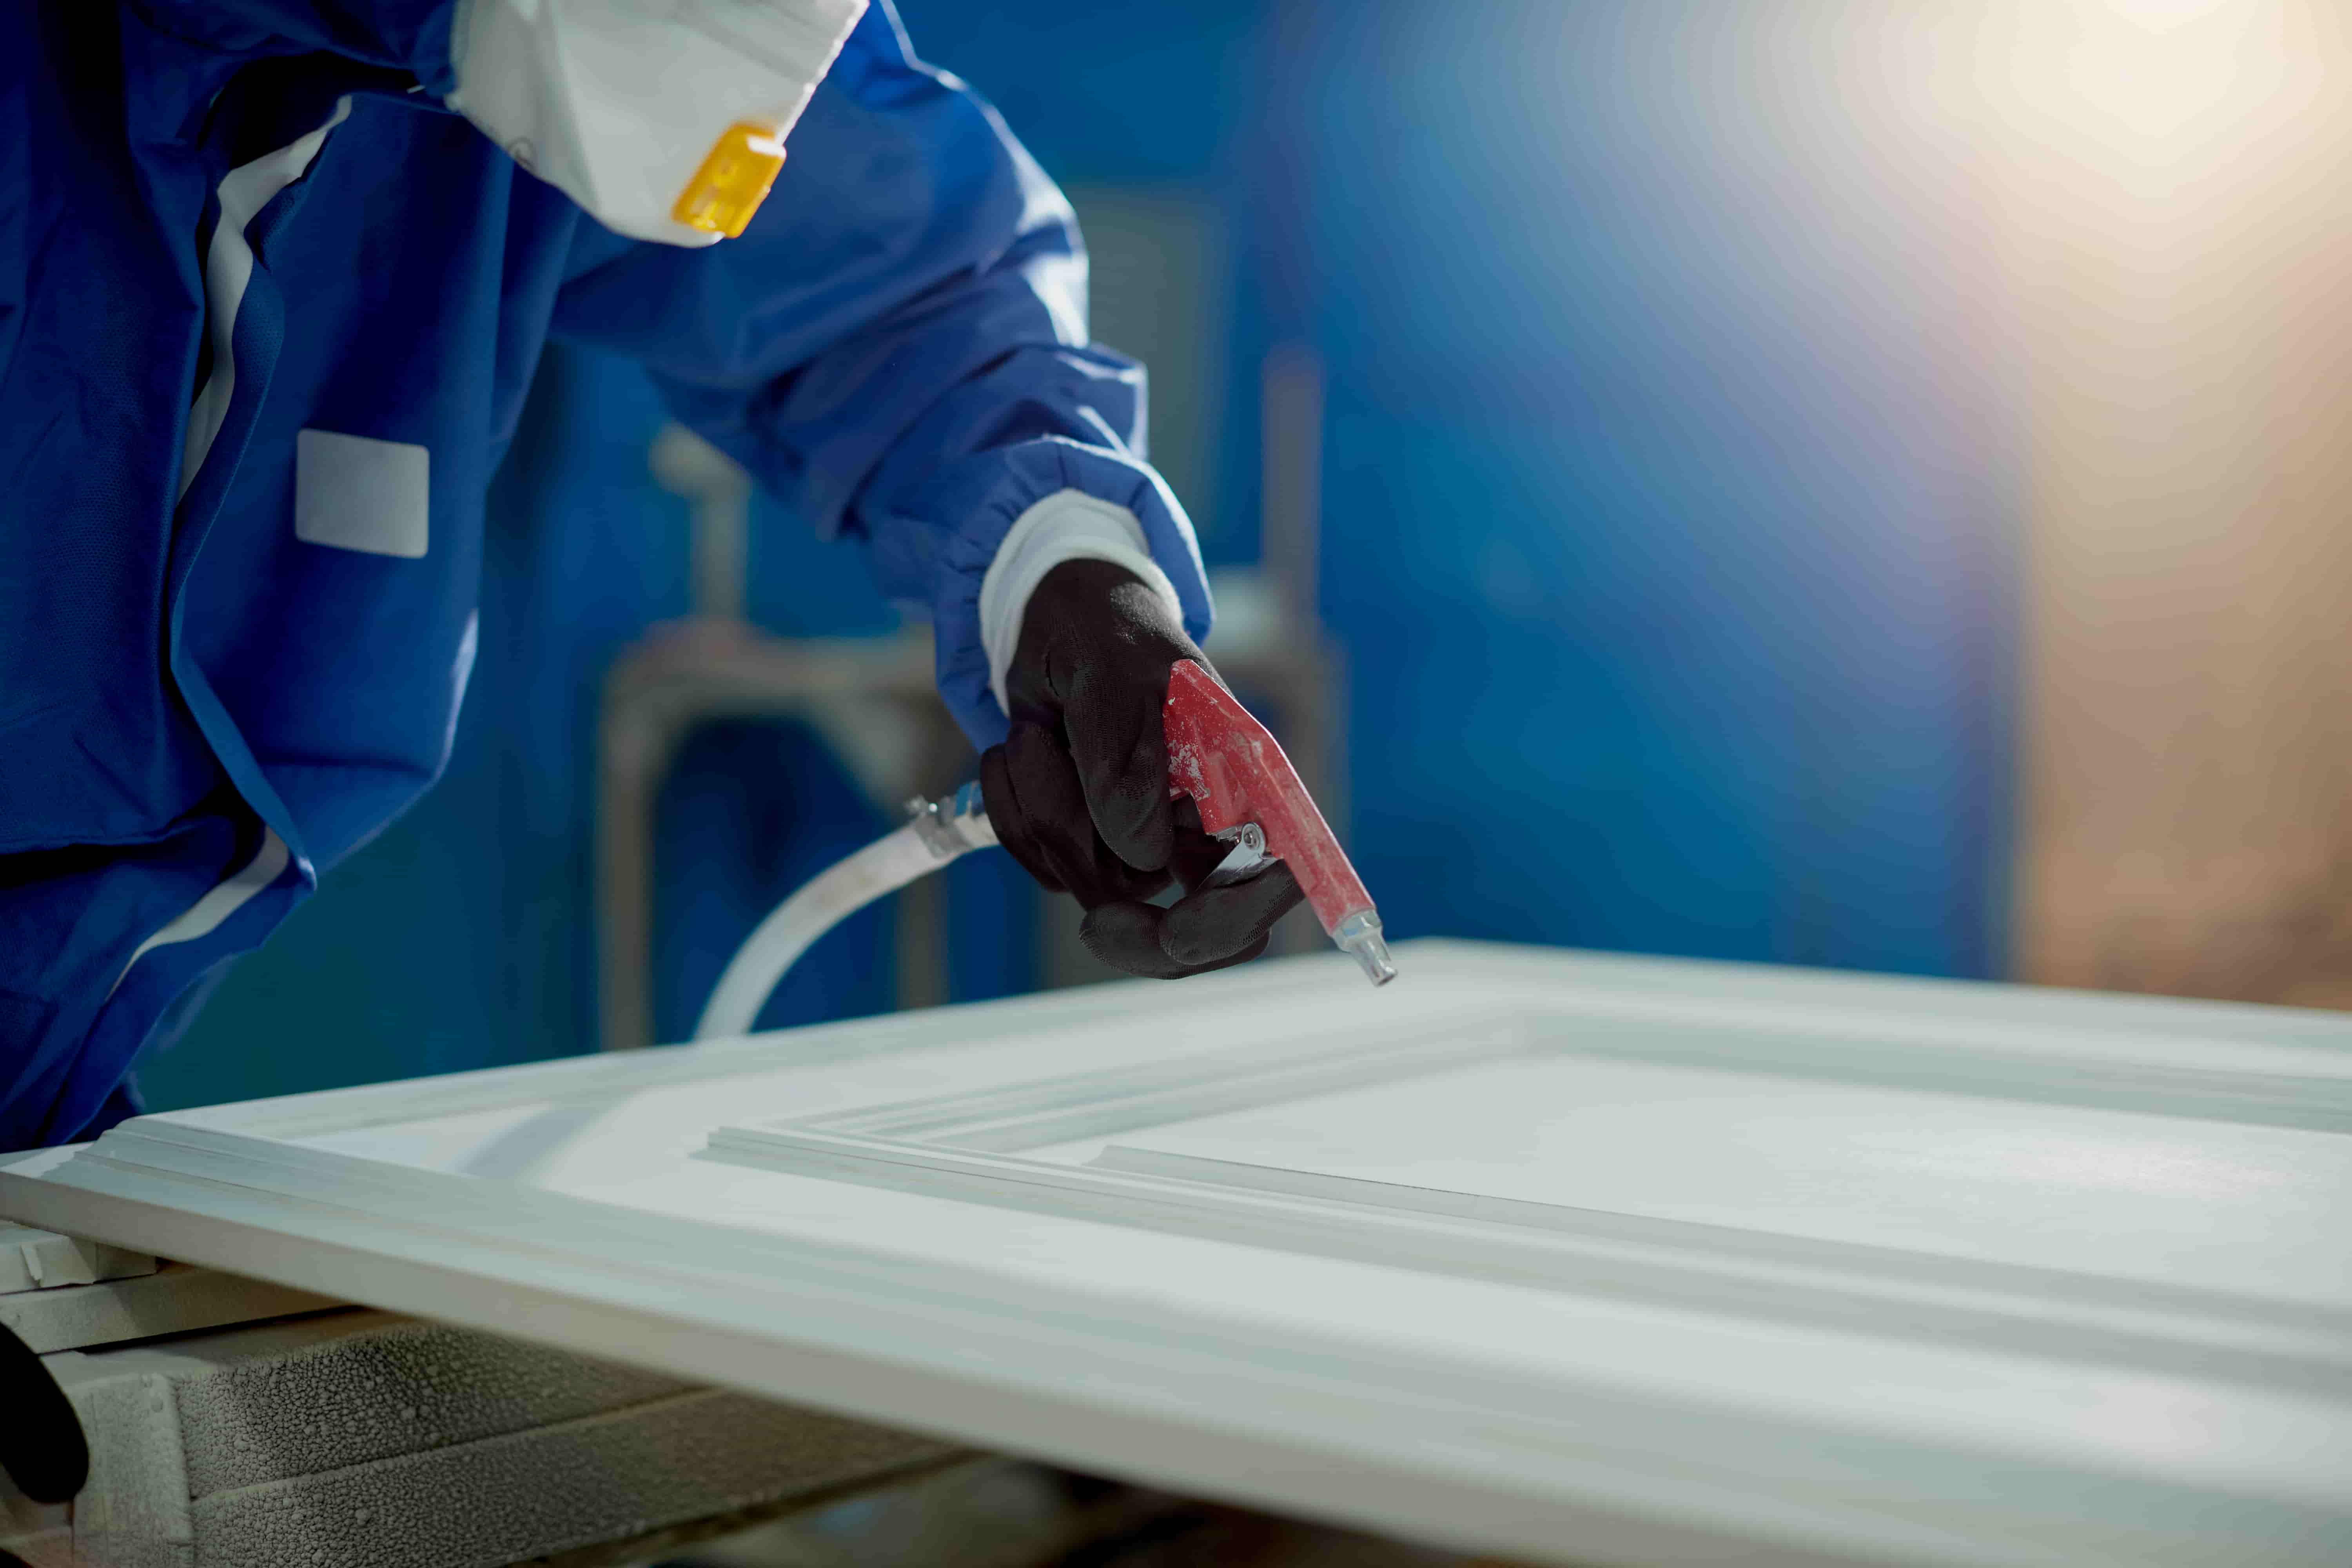
3. Applying the Paint or Stain
Once you’ve chosen the right product for your deck, it’s time to apply it. Here’s how:
Use the Right Tools:
For both deck painting and staining, the best tools are brushes, rollers, or sprayers. A brush is often the best choice for precise application, especially around edges and railings. Rollers cover large areas quickly but can leave behind streaks. If you’re using a sprayer, be sure to mask off areas you don’t want to be covered.
Start with the Railings:
Begin by painting or staining the railings first, as they’re typically the most detailed part of the deck. Use a brush to ensure you get into all the nooks and crannies. Be careful that splashes do not fall on the deck boards.
Work Your Way Down:
Once the railings are done, move to the deck boards. Work in small sections to ensure you’re not over-applying and that the product has time to soak in. If you’re using a stain, apply a thin, even layer, and don’t let it sit for too long before wiping off any excess. For paint, apply evenly in long, smooth strokes.
Allow for Drying Time:
Allow adequate time for drying after the initial coat is applied. This is typically about 18-48 hours, depending on the weather conditions. It’s important not to rush through this step. Apply a second coat for added durability and protection if necessary.
4. Maintain Your Deck
Once you have done deck painting and staining, the work isn’t entirely over. A little maintenance goes a long way to ensure your deck stays beautiful for years to come.
Regular Cleaning:
Sweep your deck regularly to remove debris, and clean it every few months with a mild detergent and a scrub brush. Keeping the deck clean will help prevent the buildup of dirt and grime that can cause premature wear.
Reapply Stain or Paint as Needed:
Over time, the finish on your deck will wear down. The exact timeline depends on the climate, but it’s generally recommended to reapply stain every 1-3 years, while paint may last 3-5 years. Always inspect your deck before the start of the season and reapply as necessary.
5. Protect Your Deck in the Off-Season
During the winter months, if you live in a climate where snow and ice are common, it’s important to take extra care of your deck. Remove snow promptly to prevent moisture from seeping into the wood, and use ice melt products that are safe for wood surfaces.
From Faded to Fabulous – K&K Painting Corp Does It Right!
If you’re in the Boston area and looking for the best deck painting and staining services, K&K Painting Corp is the name you can rely on. With years of experience and a commitment to delivering top-quality service, we specialize in restoring and enhancing the beauty of decks with expert painting and staining solutions.
Whether you’re looking to refresh your deck’s color or add long-lasting protection, K&K Painting Corp is the trusted name for all your deck restoration needs. Get in touch with us today for a free consultation and let our experts bring your deck back to life!
Conclusion
Restoring your deck with proper deck painting and staining not only revitalizes its beauty but also protects it against harsh weather and wear. With the right preparation, products, and maintenance, your deck can remain a stunning and durable feature of your outdoor space.
Ready for a deck transformation? Contact K&K Painting Corp in Boston for expert services that ensure lasting results!